
Setup
guide for Umbraco
·
Create one empty database in SQL server.
·
Create folder “D:\Dev”
·
Copy “UmbracoCms.4.11.1.zip” into “D:\Dev” and
Unzip all files of “UmbracoCms.4.11.1.zip”.
·
Cut and paste all files and folder of “D:\Dev \UmbracoCms.4.11.1”
into “D:\Dev” and delete “UmbracoCms.4.11.1.zip” and “UmbracoCms.4.11.1”
folder.
·
Give full permission to “Authenticated Users”, “Self
account” and “IIS_IUSRS”

·
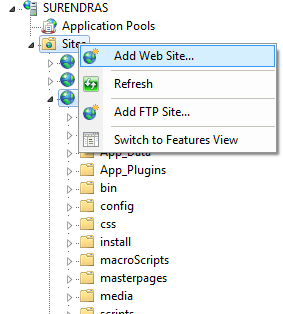
Go to IIS and Right click on site and click on “Add
Web Site…”
·
Specify Site
name, physical path and host name as below

·
Open “hosts”
file from “C:\Windows\System32\drivers\etc”
and add entry at last as
<IP Address> <Host
name>
Example: 172.27.150.56 local.umbraco.com
·
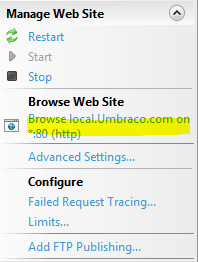
Browse website from IIS
·
On Welcome screen click on “Lets Get Started” button
·
On license screen click on “Accept and Continue”
·
On “Database
configuration” screen fill the database info for empty created database

·
On next Umbraco install database and click
“Continue”
·
On “Create User” screen, create new user as

·
On “Starter
kits” screen select last kit “No Thanks”.

·
On “Install
a Skin” screen, select skin.
·
On next screen,
click on “Setup your new Site”

Note:
You can change DB and other installation
steps from these URLs